Saturday, May 12, 2007


Thursday, July 20, 2006
Wednesday, March 01, 2006
Compass Echo 440 - 5 Berth Caravan
Age - unknown
Weight - 850kgs


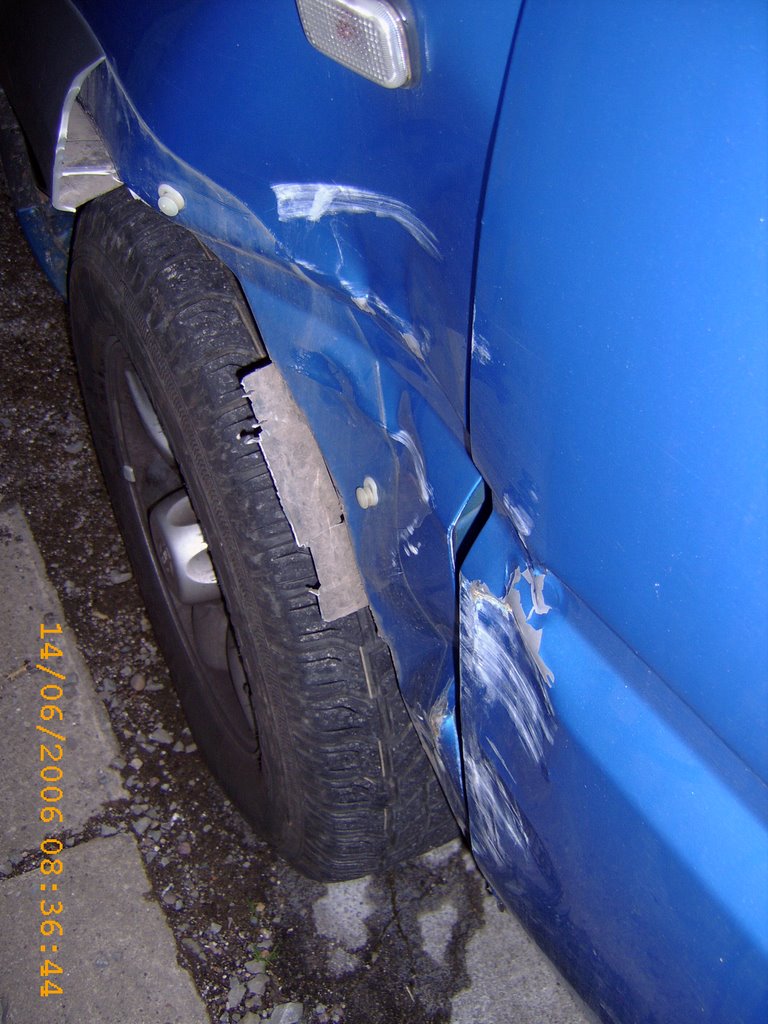
here's the new van after a damn good clean up on the outside and inside, it was bought of a couple who had split up and had been parked in the same spot for about 14 months going green on the outside, and basically filthy on the inside!
After camping in a tent last year though and almost getting blown away we decided, as the price was right, to treat ourselves to this.
Came with everything needed (toilet, waste, hook ups), but needed a new bathroom sink, tyres and a general overhaul of the brakes/bearings to make sure everything was ok after standing for so long!
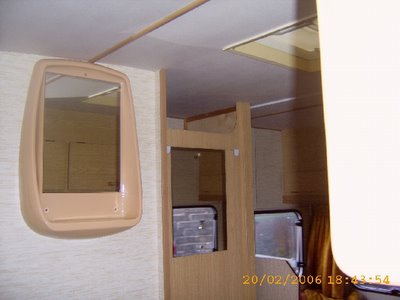
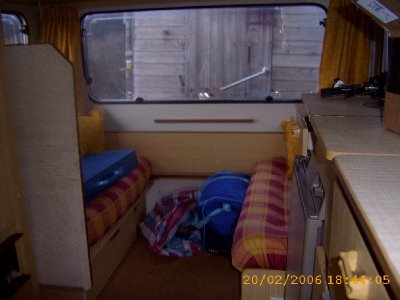
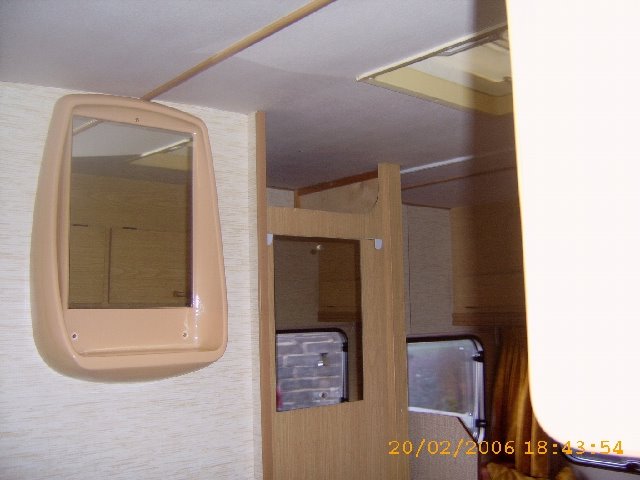
Couple of pics of the inside...


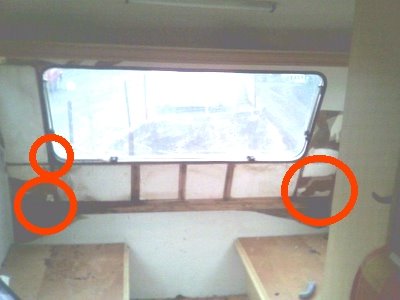
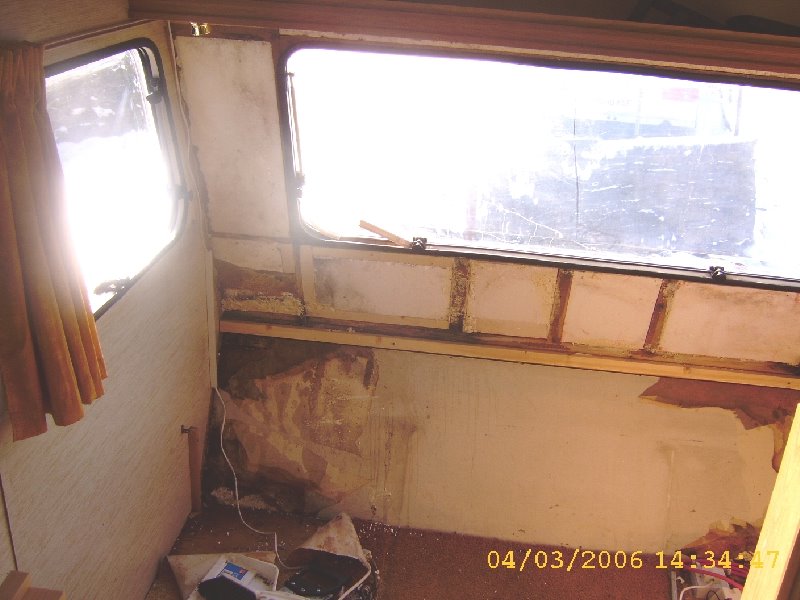
When we had gone to look at the van I had noticed a small damp patch on the front nearside corner under the window, was only small though so thought it should be ok! The wall board had gone soft, and the vinyl wallcovering was peeling slightly and you could track the leak up to the corner of the front window.


ITS ONLY A SMALL PATCH
You can see in the picture above the small mark on the wallboard.
After reading through various forums on damp vans - www.ukcampsites.co.uk/chatter and seeing other peoples experiences in dealing with damp I felt confident that I could tackle this `little` problem myself ... After all, it was only the seal which had failed on the front window...
Bit of investigating...

Cut a small hole using a Stanley knife through the plyboard to have a look at was what going on behind... mmm, very damp!!! (even though it was only a `small` mark on the wallboard!)
Decided to cut a bit more away, then a bit more, then a bit more... till in the end...
This is the whole of the front wallboard cut out to reveal the wooden frame and polystyrene behind. This may look sevear, but removing the whole of the wallboard will make repairing it much easier, rather then trying to `patch` a peice back in. The areas marked in the red circles are the worst affected areas with soft wood you can stick a screw driver into! I intend to cut these areas out back to good wood and replace with new.
It now seems apparent that the water has been coming in from the front window and the rail across the middle of the van too - the thinking behind this is that although not saturated the whole of the front was `damp - and I'm told these are the typical places from water to get in! :(
So, although this may look severe its not really, afterall "I have a plan!!!"
DRYING OUT:
Now the damp boards are of the wood behind is starting to dry out. I intend to help this out by putting an electric fan on the worst areas though to speed things up.
Front seats have also been removed to help out with access - easy job as they were only held in place with 5 screws - 2 into the wall, and 3 into the floor


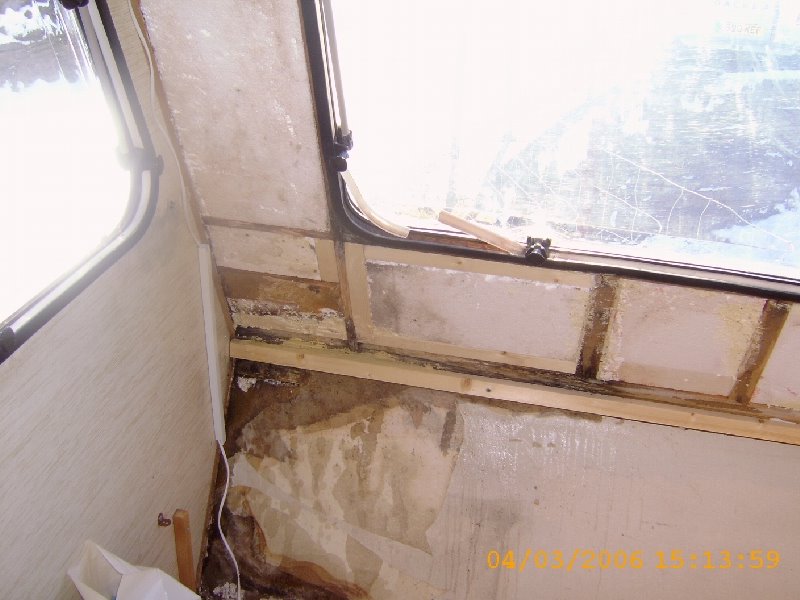
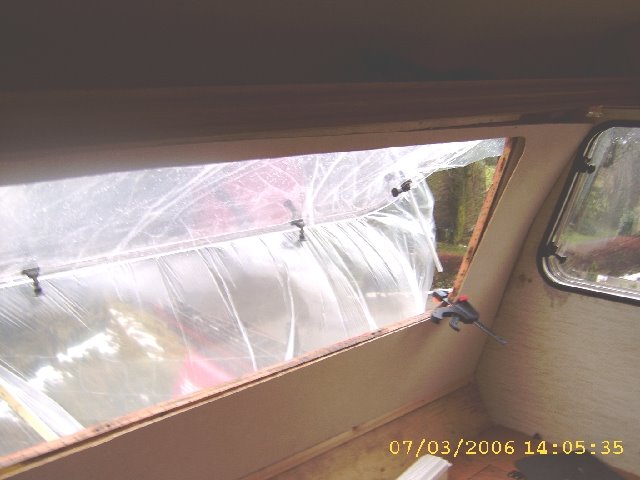
Damp tester is now reading as normal along the majority of the front, also the side walls are dry and the floor, so a day or two of having the heat on should mean by next weekend everything is ok for the rebuild. If you look out of the windows you can see SNOW! (great!) but all the front rails and round the window has been covered in `gaffa tape` as I have not yet got the parts delivered to reseal these.


Now that the wood is drying out and reading normal it has been treated with two coats of Ronseal Damp Wood Hardener (good tip with this stuff is to use gloves... I didnt and now have stained fingers I cant get clean!)
New peice of wood has been placed across the front of the van to replace the one which was badly damaged, and this has been filled round with Ronseal Performance Wood Filler - this stuff is a bit of a pain as you need to mix the filler with hardener in a seperate tub - it does set rock solid in about 10 minutes though and can be drilled and sanded down. Round the bottom corner of the window where the wet was getting in the wood has also been replaced. Any gaps where I had cut into the insulation (and gaps that were there from when the van was originally built) have been filled with Foam Filler.
OH has said that she wants to go away in the van soon... but this is how it currently looks!

REBUILD BEGINS:
TIP: Dont choose a day its pouring down to take your seals out!!! (as I did!!) if you do a cheap decorators sheet comes in handy from B&Q, held in place with some gaffa tape it just about covers the front of the van.

The bottom board was slightly damp as the water had been running down from the outside rail. This was originally 3mm ply, although it had dried ok I decided to take this out and replace it with 8mm chipboard. I figured that this would add more strengh to the front. This was fitted by bascially cutting it to shape with a jigsaw, then using no-more-nails and screws into the frame to hold it in place - as this will be covered with a wallboard you wont see the screws anyway.

In this picture you can also the bottom corner of the window which has been rebuilt and filled

With the new thicker front board fitted the seats are stood back in position to check the fit
Next morning wallboard arrives, as it is a 7`x4` sheet first I measured the whole front of the van, copied this onto the rear of the board and cut the shape out using a stanley knife... as it is only thin I didnt fancy using a jigsaw incase it cracked it.
Next job front window it propped open, and window catches and rubbers completely removed. Wall board is then put inplace to check the fit (measure twice - cut once) and from the outside the shape of the window is drawn round. Again, full board is removed and carefully cut the window hole out with a stanley knife.
Had to be carefull now as at the top of the window the replacement board was only a few centimeters thick and would flex easily... if it snapped now I wouldnt be happy!

Wallboard is offered up to the space again to check the fit, using clamps it is held inplace. As it fit `ok` again it was removed, covered in no-more-nails and then refitted and clamped in place. Around the window where the seal will cover it was stapled, and also down the sides, bottom and top - which again will be covered by the replacement seals.
Whilst I was waiting for this to `go-off` I cleaned all the old sealant from round the front window, and as I would be replacing the window rubber out of this too... not the most fun job, but worth doing right!

With the wallboard held inplace and a bit of trimming round the window to ensure a perfect fit the mastic roll is stuck inplace. Some people say it is easier to put the seal into the window rubber - in hynsight this probably would have been the best idea! Mastic was stuck round the outside of the van, married up with the same on the outside edge of the window frame. Then to be extra sure some seamseal was run round the inside edge of the window frame.
2 pairs of hands would be benificial here, as whilst one is fitting the rubber back round the other can hold it up out of the way - bit if a messy fiddly job this (esspecially on your own) but I started in the top corner bashing it into place with a rubber mallet as I went, sticking the rubber to the outside of the van first, then bending it in to fit into the front over the wallboard (if that makes sence) good idea to have some rags and white spirits handy here so any sealant that sqeezes out into the van can be wiped away.
Rubber was then stapled inside, trim and catches rescrewed into place. Outside of the van with the window still open the rubber was again beshed down with the mallet, and any excess trimmed of.

Back in the van the gas heater is turned on 1- due to the fact it was freezing, and 2 - to help dry the glue out. This is also a good time to have a brew and a fag! :)
Fag finished... where I had cut the window out of the wallboard was measured and cut to fit over the bottom section of the van - although this was not quite wide enough to go the full lengh I had bits left over that I could patch this with - and once the seats and cusions were back in you wouldnt see these anyway.
Again using no-more-nails the sheet was glued in place, also a couple of staples in which would be covered by the seats to hold it in place whilst the glue dried. With the corner patched it was time to replace the front seat (which would now sit a further 8mm back due to the thicker wood)

Phew, both front seats fitted back into place and were screwed down: a good tip for this is as the table makes the bed up place both seats in position, then put the table in the middle and THEN screw them to the floor and walls... I didnt do this first time, and then realised I couldnt make the bed up, so had to unscrew and re-fix everything!!!

Table holder is screwed back onto the wall (forgot to mark where the struts for this were behind the wallboard, but luckly managed to hit them first time with the screws! Also down the front and side walls a strip of bathroom and shower sealant tape is run down. Not really needed as the curtains cover the joins, but just helps to finish it of nicer! Also the 12v wire to the spot lights in the shelf which I forgot to hide behind the new boards is covered in white plastic coving stuff to tidy it up a bit.
Now feeling quite pleased with myself, time for another coffee break! :)

Curtain rails screwed back on...
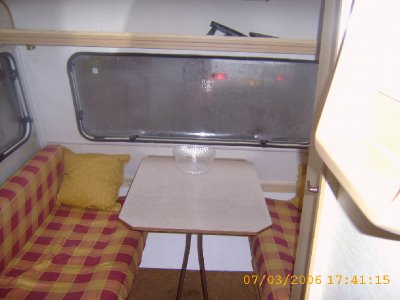
Table in place, sit down and relax!!!!!!!!!!!!!!!!!!!!!!!!!!!!!!!!

Just the front rails to remove and reseal now - hopefully this weekend as I'm planning to put the caravan in my works warehouse over the weekend, will be able to remove the tape then, give it a good clean inside and out... and take it away for a weekend!!! :) Updates coming soon...
Age - unknown
Weight - 850kgs
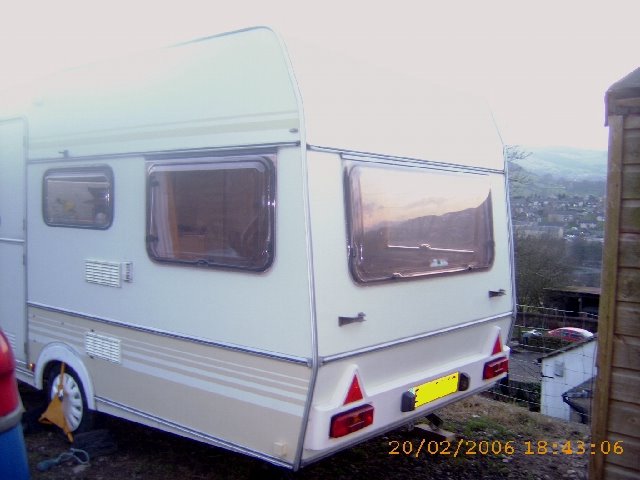
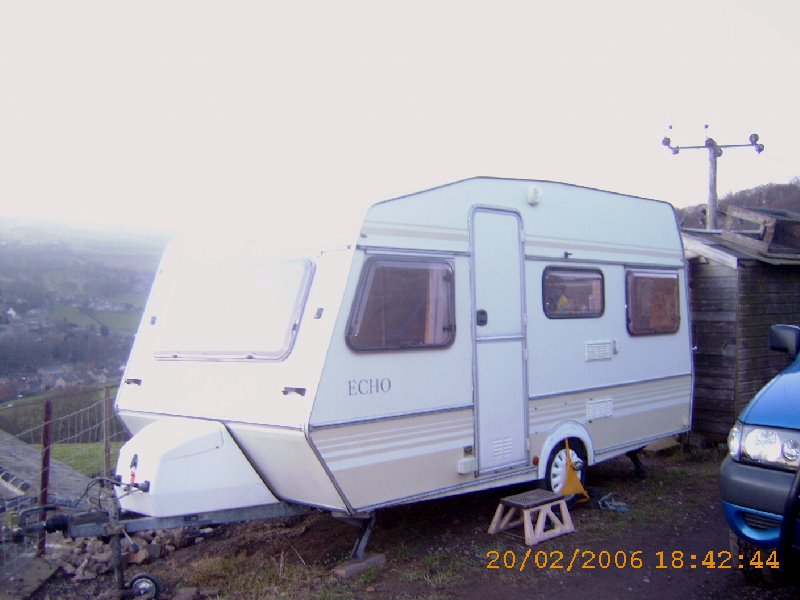
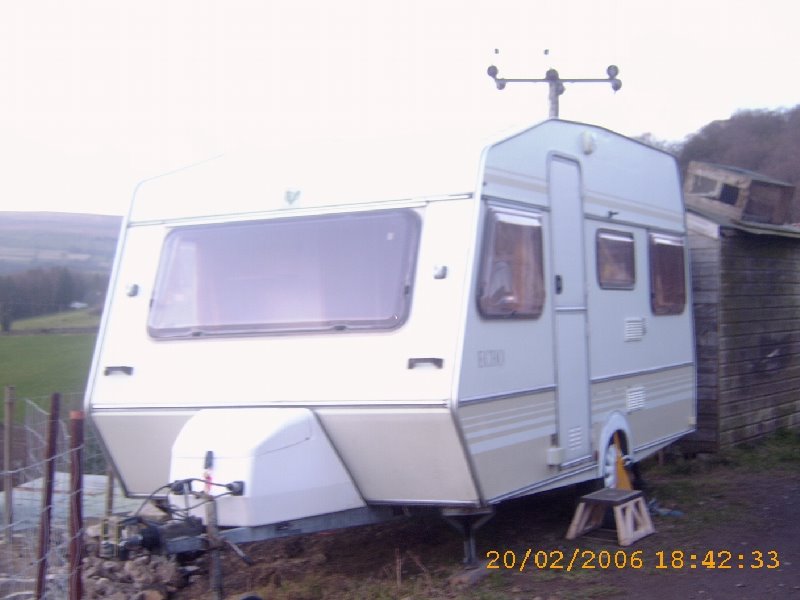
here's the new van after a damn good clean up on the outside and inside, it was bought of a couple who had split up and had been parked in the same spot for about 14 months going green on the outside, and basically filthy on the inside!
After camping in a tent last year though and almost getting blown away we decided, as the price was right, to treat ourselves to this.
Came with everything needed (toilet, waste, hook ups), but needed a new bathroom sink, tyres and a general overhaul of the brakes/bearings to make sure everything was ok after standing for so long!
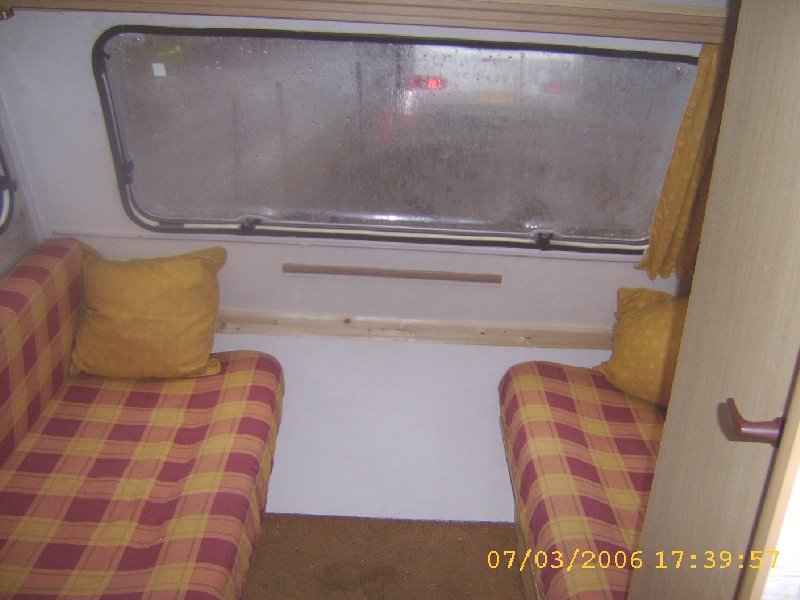
Couple of pics of the inside...


When we had gone to look at the van I had noticed a small damp patch on the front nearside corner under the window, was only small though so thought it should be ok! The wall board had gone soft, and the vinyl wallcovering was peeling slightly and you could track the leak up to the corner of the front window.


ITS ONLY A SMALL PATCH
You can see in the picture above the small mark on the wallboard.
After reading through various forums on damp vans - www.ukcampsites.co.uk/chatter and seeing other peoples experiences in dealing with damp I felt confident that I could tackle this `little` problem myself ... After all, it was only the seal which had failed on the front window...
Bit of investigating...

Cut a small hole using a Stanley knife through the plyboard to have a look at was what going on behind... mmm, very damp!!! (even though it was only a `small` mark on the wallboard!)
Decided to cut a bit more away, then a bit more, then a bit more... till in the end...

This is the whole of the front wallboard cut out to reveal the wooden frame and polystyrene behind. This may look sevear, but removing the whole of the wallboard will make repairing it much easier, rather then trying to `patch` a peice back in. The areas marked in the red circles are the worst affected areas with soft wood you can stick a screw driver into! I intend to cut these areas out back to good wood and replace with new.
It now seems apparent that the water has been coming in from the front window and the rail across the middle of the van too - the thinking behind this is that although not saturated the whole of the front was `damp - and I'm told these are the typical places from water to get in! :(
So, although this may look severe its not really, afterall "I have a plan!!!"
DRYING OUT:
Now the damp boards are of the wood behind is starting to dry out. I intend to help this out by putting an electric fan on the worst areas though to speed things up.
Front seats have also been removed to help out with access - easy job as they were only held in place with 5 screws - 2 into the wall, and 3 into the floor

Damp tester is now reading as normal along the majority of the front, also the side walls are dry and the floor, so a day or two of having the heat on should mean by next weekend everything is ok for the rebuild. If you look out of the windows you can see SNOW! (great!) but all the front rails and round the window has been covered in `gaffa tape` as I have not yet got the parts delivered to reseal these.

Now that the wood is drying out and reading normal it has been treated with two coats of Ronseal Damp Wood Hardener (good tip with this stuff is to use gloves... I didnt and now have stained fingers I cant get clean!)
New peice of wood has been placed across the front of the van to replace the one which was badly damaged, and this has been filled round with Ronseal Performance Wood Filler - this stuff is a bit of a pain as you need to mix the filler with hardener in a seperate tub - it does set rock solid in about 10 minutes though and can be drilled and sanded down. Round the bottom corner of the window where the wet was getting in the wood has also been replaced. Any gaps where I had cut into the insulation (and gaps that were there from when the van was originally built) have been filled with Foam Filler.
OH has said that she wants to go away in the van soon... but this is how it currently looks!

REBUILD BEGINS:
TIP: Dont choose a day its pouring down to take your seals out!!! (as I did!!) if you do a cheap decorators sheet comes in handy from B&Q, held in place with some gaffa tape it just about covers the front of the van.

The bottom board was slightly damp as the water had been running down from the outside rail. This was originally 3mm ply, although it had dried ok I decided to take this out and replace it with 8mm chipboard. I figured that this would add more strengh to the front. This was fitted by bascially cutting it to shape with a jigsaw, then using no-more-nails and screws into the frame to hold it in place - as this will be covered with a wallboard you wont see the screws anyway.
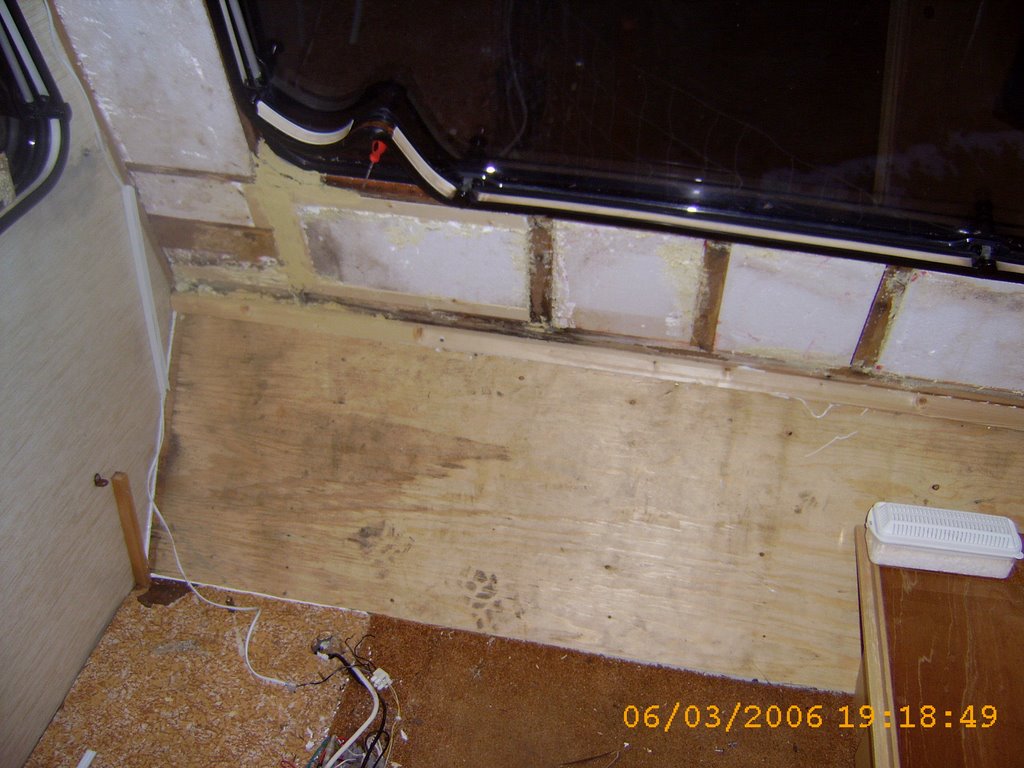
In this picture you can also the bottom corner of the window which has been rebuilt and filled

With the new thicker front board fitted the seats are stood back in position to check the fit
Next morning wallboard arrives, as it is a 7`x4` sheet first I measured the whole front of the van, copied this onto the rear of the board and cut the shape out using a stanley knife... as it is only thin I didnt fancy using a jigsaw incase it cracked it.
Next job front window it propped open, and window catches and rubbers completely removed. Wall board is then put inplace to check the fit (measure twice - cut once) and from the outside the shape of the window is drawn round. Again, full board is removed and carefully cut the window hole out with a stanley knife.
Had to be carefull now as at the top of the window the replacement board was only a few centimeters thick and would flex easily... if it snapped now I wouldnt be happy!
Wallboard is offered up to the space again to check the fit, using clamps it is held inplace. As it fit `ok` again it was removed, covered in no-more-nails and then refitted and clamped in place. Around the window where the seal will cover it was stapled, and also down the sides, bottom and top - which again will be covered by the replacement seals.
Whilst I was waiting for this to `go-off` I cleaned all the old sealant from round the front window, and as I would be replacing the window rubber out of this too... not the most fun job, but worth doing right!

With the wallboard held inplace and a bit of trimming round the window to ensure a perfect fit the mastic roll is stuck inplace. Some people say it is easier to put the seal into the window rubber - in hynsight this probably would have been the best idea! Mastic was stuck round the outside of the van, married up with the same on the outside edge of the window frame. Then to be extra sure some seamseal was run round the inside edge of the window frame.
2 pairs of hands would be benificial here, as whilst one is fitting the rubber back round the other can hold it up out of the way - bit if a messy fiddly job this (esspecially on your own) but I started in the top corner bashing it into place with a rubber mallet as I went, sticking the rubber to the outside of the van first, then bending it in to fit into the front over the wallboard (if that makes sence) good idea to have some rags and white spirits handy here so any sealant that sqeezes out into the van can be wiped away.
Rubber was then stapled inside, trim and catches rescrewed into place. Outside of the van with the window still open the rubber was again beshed down with the mallet, and any excess trimmed of.

Back in the van the gas heater is turned on 1- due to the fact it was freezing, and 2 - to help dry the glue out. This is also a good time to have a brew and a fag! :)
Fag finished... where I had cut the window out of the wallboard was measured and cut to fit over the bottom section of the van - although this was not quite wide enough to go the full lengh I had bits left over that I could patch this with - and once the seats and cusions were back in you wouldnt see these anyway.
Again using no-more-nails the sheet was glued in place, also a couple of staples in which would be covered by the seats to hold it in place whilst the glue dried. With the corner patched it was time to replace the front seat (which would now sit a further 8mm back due to the thicker wood)

Phew, both front seats fitted back into place and were screwed down: a good tip for this is as the table makes the bed up place both seats in position, then put the table in the middle and THEN screw them to the floor and walls... I didnt do this first time, and then realised I couldnt make the bed up, so had to unscrew and re-fix everything!!!

Table holder is screwed back onto the wall (forgot to mark where the struts for this were behind the wallboard, but luckly managed to hit them first time with the screws! Also down the front and side walls a strip of bathroom and shower sealant tape is run down. Not really needed as the curtains cover the joins, but just helps to finish it of nicer! Also the 12v wire to the spot lights in the shelf which I forgot to hide behind the new boards is covered in white plastic coving stuff to tidy it up a bit.
Now feeling quite pleased with myself, time for another coffee break! :)
Curtain rails screwed back on...

Table in place, sit down and relax!!!!!!!!!!!!!!!!!!!!!!!!!!!!!!!!

Just the front rails to remove and reseal now - hopefully this weekend as I'm planning to put the caravan in my works warehouse over the weekend, will be able to remove the tape then, give it a good clean inside and out... and take it away for a weekend!!! :) Updates coming soon...
![]()